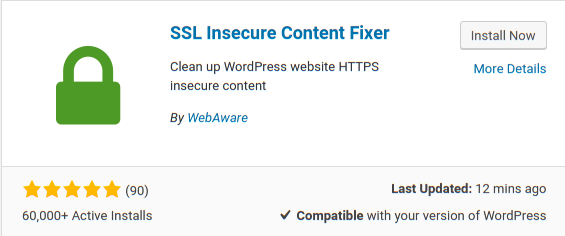
The easiest way to install SSL Insecure Content Fixer is through the Plugins page in the WordPress admin.
Automatic Plugin Installation
- go to Plugins > Add New
- type SSL Insecure Content Fixer into the Search plugins box and press enter
- click the Install Now button to install it on your website
- once it has been installed, click Activate Plugin

Manual Plugin Installation
If you can’t install from the WordPress admin for any reason, then you can manually install from the .zip file.
- download the .zip file from WordPress.org
- unzip the file into a folder
- FTP the ssl-insecure-content-fixer folder to the wp-content/plugins folder in your website
- activate the plugin from the Plugins page in your WordPress admin
After Installing
Once installed and activated, you should visit the settings page to select the appropriate fix level and check that HTTPS detection is set correctly for your website.
